Android:Kotlin/Everywhere
In the previous lesson, you created an Android project that displays "Hello World!". You can now run the app on a real device or an emulator.
Run on a real device
Set up your device as follows:
- Connect your device to your development machine with a USB cable. If you're developing on Windows, you might need to install the appropriate USB driver for your device.
- Enable USB debugging in the Developer options as follows.
First, you must enable the developer options:
- Open the Settings app.
- (Only on Android 8.0 or higher) Select System.
- Scroll to the bottom and select About phone.
- Scroll to the bottom and tap Build number 7 times.
- Return to the previous screen to find Developer options near the bottom.
Open Developer options, and then scroll down to find and enable USB debugging.
Run the app on your device as follows:
- In Android Studio, select your app from the run/debug configurations drop-down menu in the toolbar.
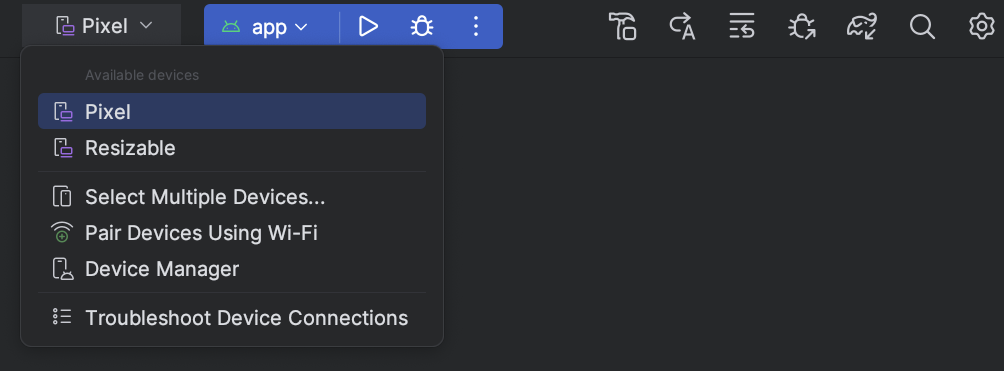
In the toolbar, select the device that you want to run your app on from the target device drop-down menu.
Click Run
 .
.Android Studio installs your app on your connected device and starts it. You should now see "Hello World!" displayed in the app running on your device.
To start developing, continue to the next lesson.
Run on an emulator
Run the app on an emulator as follows:
- In Android Studio, create an Android Virtual Device (AVD) that the emulator can use to install and run your app.
- In the toolbar, select your app from the run/debug configurations drop-down menu.
From the target device drop-down menu, select the AVD that you want to run your app on.
Click Run
.Android Studio installs the app on the AVD and starts the emulator. You should now see "Hello World!" displayed in the app.
To start developing, continue to the next lesson.