
Illustrated Name Design “Ice Breaker”
Illustrated Name Design “Ice Breaker”
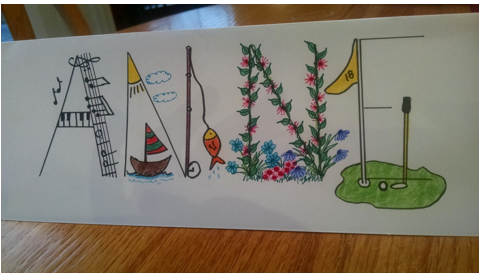
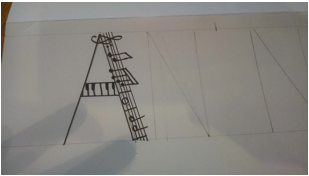
Example
A Lesson Submitted by Marilyn Stadler
Objectives:
The participants will:
1. Use art and language to share information about each other’s interests, backgrounds, important life events, etc.
2. Create art using art elements and the letters in the participants’ names
3. Use the artwork as name plates for future
Audiences:
Suitable for all who have the ability to write their names.
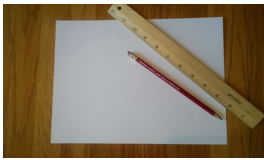
Supplies/Materials:
- Card Stock or other sturdy paper (8 ½ x 11” or 12 x 18”)
- Ruler
- Writing paper
- Pencils, markers, crayons, colored pencils, etc. for all participants
Class Instruction:
1. Show the participants examples of name plates created in advance of the class.
2. On a separate sheet of paper, ask the participants to list all of their interests, hobbies, favorite places, education, favorite books, foods, sports, etc.
3. Explain to the participants that they will be using their name to introduce themselves as well as tell a little about their interests.
Supplies needed
4. Ask the participants to fold their name plate paper in half lengthwise and open up the folded name plate “tent”, laying it open flat on the drawing surface, creased side up.
5. Using light pencil marks, make a border by using the width of a ruler. By measuring, find the center for the name tag and make a light mark.
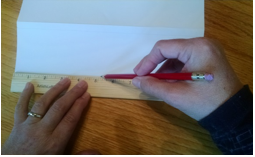
How to mark your name tag
6. Ask the participants to count the number of letters in their names, find the center letter or center of their names and write this middle letter(s) (in capitals using a single-line font) on the center mark.
7. Have the participants continue to add the letters to their names on either side of the center letter until they have written out their names in full.
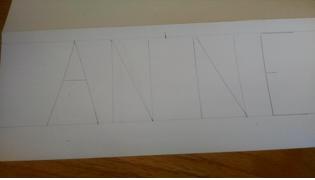
Completed pencil drawing
8. Once the participants have their block letters completed, ask them to embellish each letter. They can use drawings to explain a little about themselves or their interests by creatively incorporating their interests into each letter of their names using colored pencils, markers, etc. For instance, if a participant is a seamstress or tailor, he/she could add a needle and thread to the letter “I” in their name. Another letter in the name may include an open book if the participant is an avid reader, etc.
One letter complete
9. Encourage the participants to use as many images and colors as they’d like to bring their names “to life”. Erase all pencil lines when finished.
At the Conclusion of the Class:
- At the conclusion of the exercise, ask each participant to introduce him/herself and tell a little about the interests they have illustrated on their name plate through their art.
- Following the introduction, the participants may:
- Take the name plate art with them to be displayed in their homes
- Leave the art with the facilitator to be used as name plate for the next session
- Another option would be for the facilitator to gather up the name plates, duplicate and laminate them for class use and then send the original name plates home with the participants at the next class session.