Digital Design: Magnetic Motivation - Create an Inspirational Quote Magnet
Lesson Topic:
Using Design Software to Create Magnets
Lesson Description:
Following the principles of design and production process, students will research a given topic, plan and create a design for a 2" x 3" rectangular or 3.25” circular magnet. Advanced students will be challenged to create a unique shape for a magnet.
Learning Goals/Outcomes:
- Plan a product geared to a specific audience
- Create a production schedule to meet a deadline
- Create a custom size file in a publishing or photo editing software
- Use kerning and leading for font adjustment within a given space
- Understand copyright usage rules
- Use copyright free material – text and images
Nebraska Standards:
CIS.HS.1.11 Identify project's message and
mission
CIS.HS.1.11.a Evaluate project
proposal ideas and determine intended audience's needs.
CIS.HS.1.11.b Describe how to
visually communicate the project's message and mission.
CIS.HS.1.12 Design graphics, text, and/or
presentations to clearly express one's views for the intended audience.
CIS.HS.1.12.a Prepare a
production schedule (e.g., creating and using a work plan, establishing
milestones and deliverables).
CIS.HS.1.15 Demonstrate design principles and
concepts.
CIS.HS.1.15.a Demonstrate
knowledge in topography (font face, font styles, effects).
CIS.HS.1.15.b Apply color
theory principles.
CIS.HS.1.15.d Apply text layout
principles (e.g., leading, kerning, alignment).
CIS.HS.1.15.e Demonstrate
knowledge in page layout (e.g.,negative space, alignment, symmetrical,
asymmetrical).
Teacher Planning:
Equipment/Materials/Software Needed:
- Lab computer or 1:1 assigned device
- Publishing and Photo Editing Software
- Access to printer
- Button/Magnet maker (optional)
- Camera (optional)
- Access to photos taken by students (optional)
Time Required for Lesson:
- 20 minutes for introduction and demonstration of project
- 25 minutes for production planning
- 90 minutes for group production time
Diagram/Setup:
NA
Technology Use:
Software:
Publishing and/or photo editing software (Microsoft Publisher, Adobe Photoshop, Adobe Illustrator, or Adobe InDesign)
Hardware:
Computer, Printer, Printable Magnet Sheets (optional), Button/Magnet maker and parts (optional), Sticker Project Paper (optional)
Instructional Plan:
Anticipatory Set/Pre-Activity:
As students arrive in class hand them a “refrigerator”
magnet or photo button (see image below) that you have collected over time from conferences, mailings, college fairs, or other places.
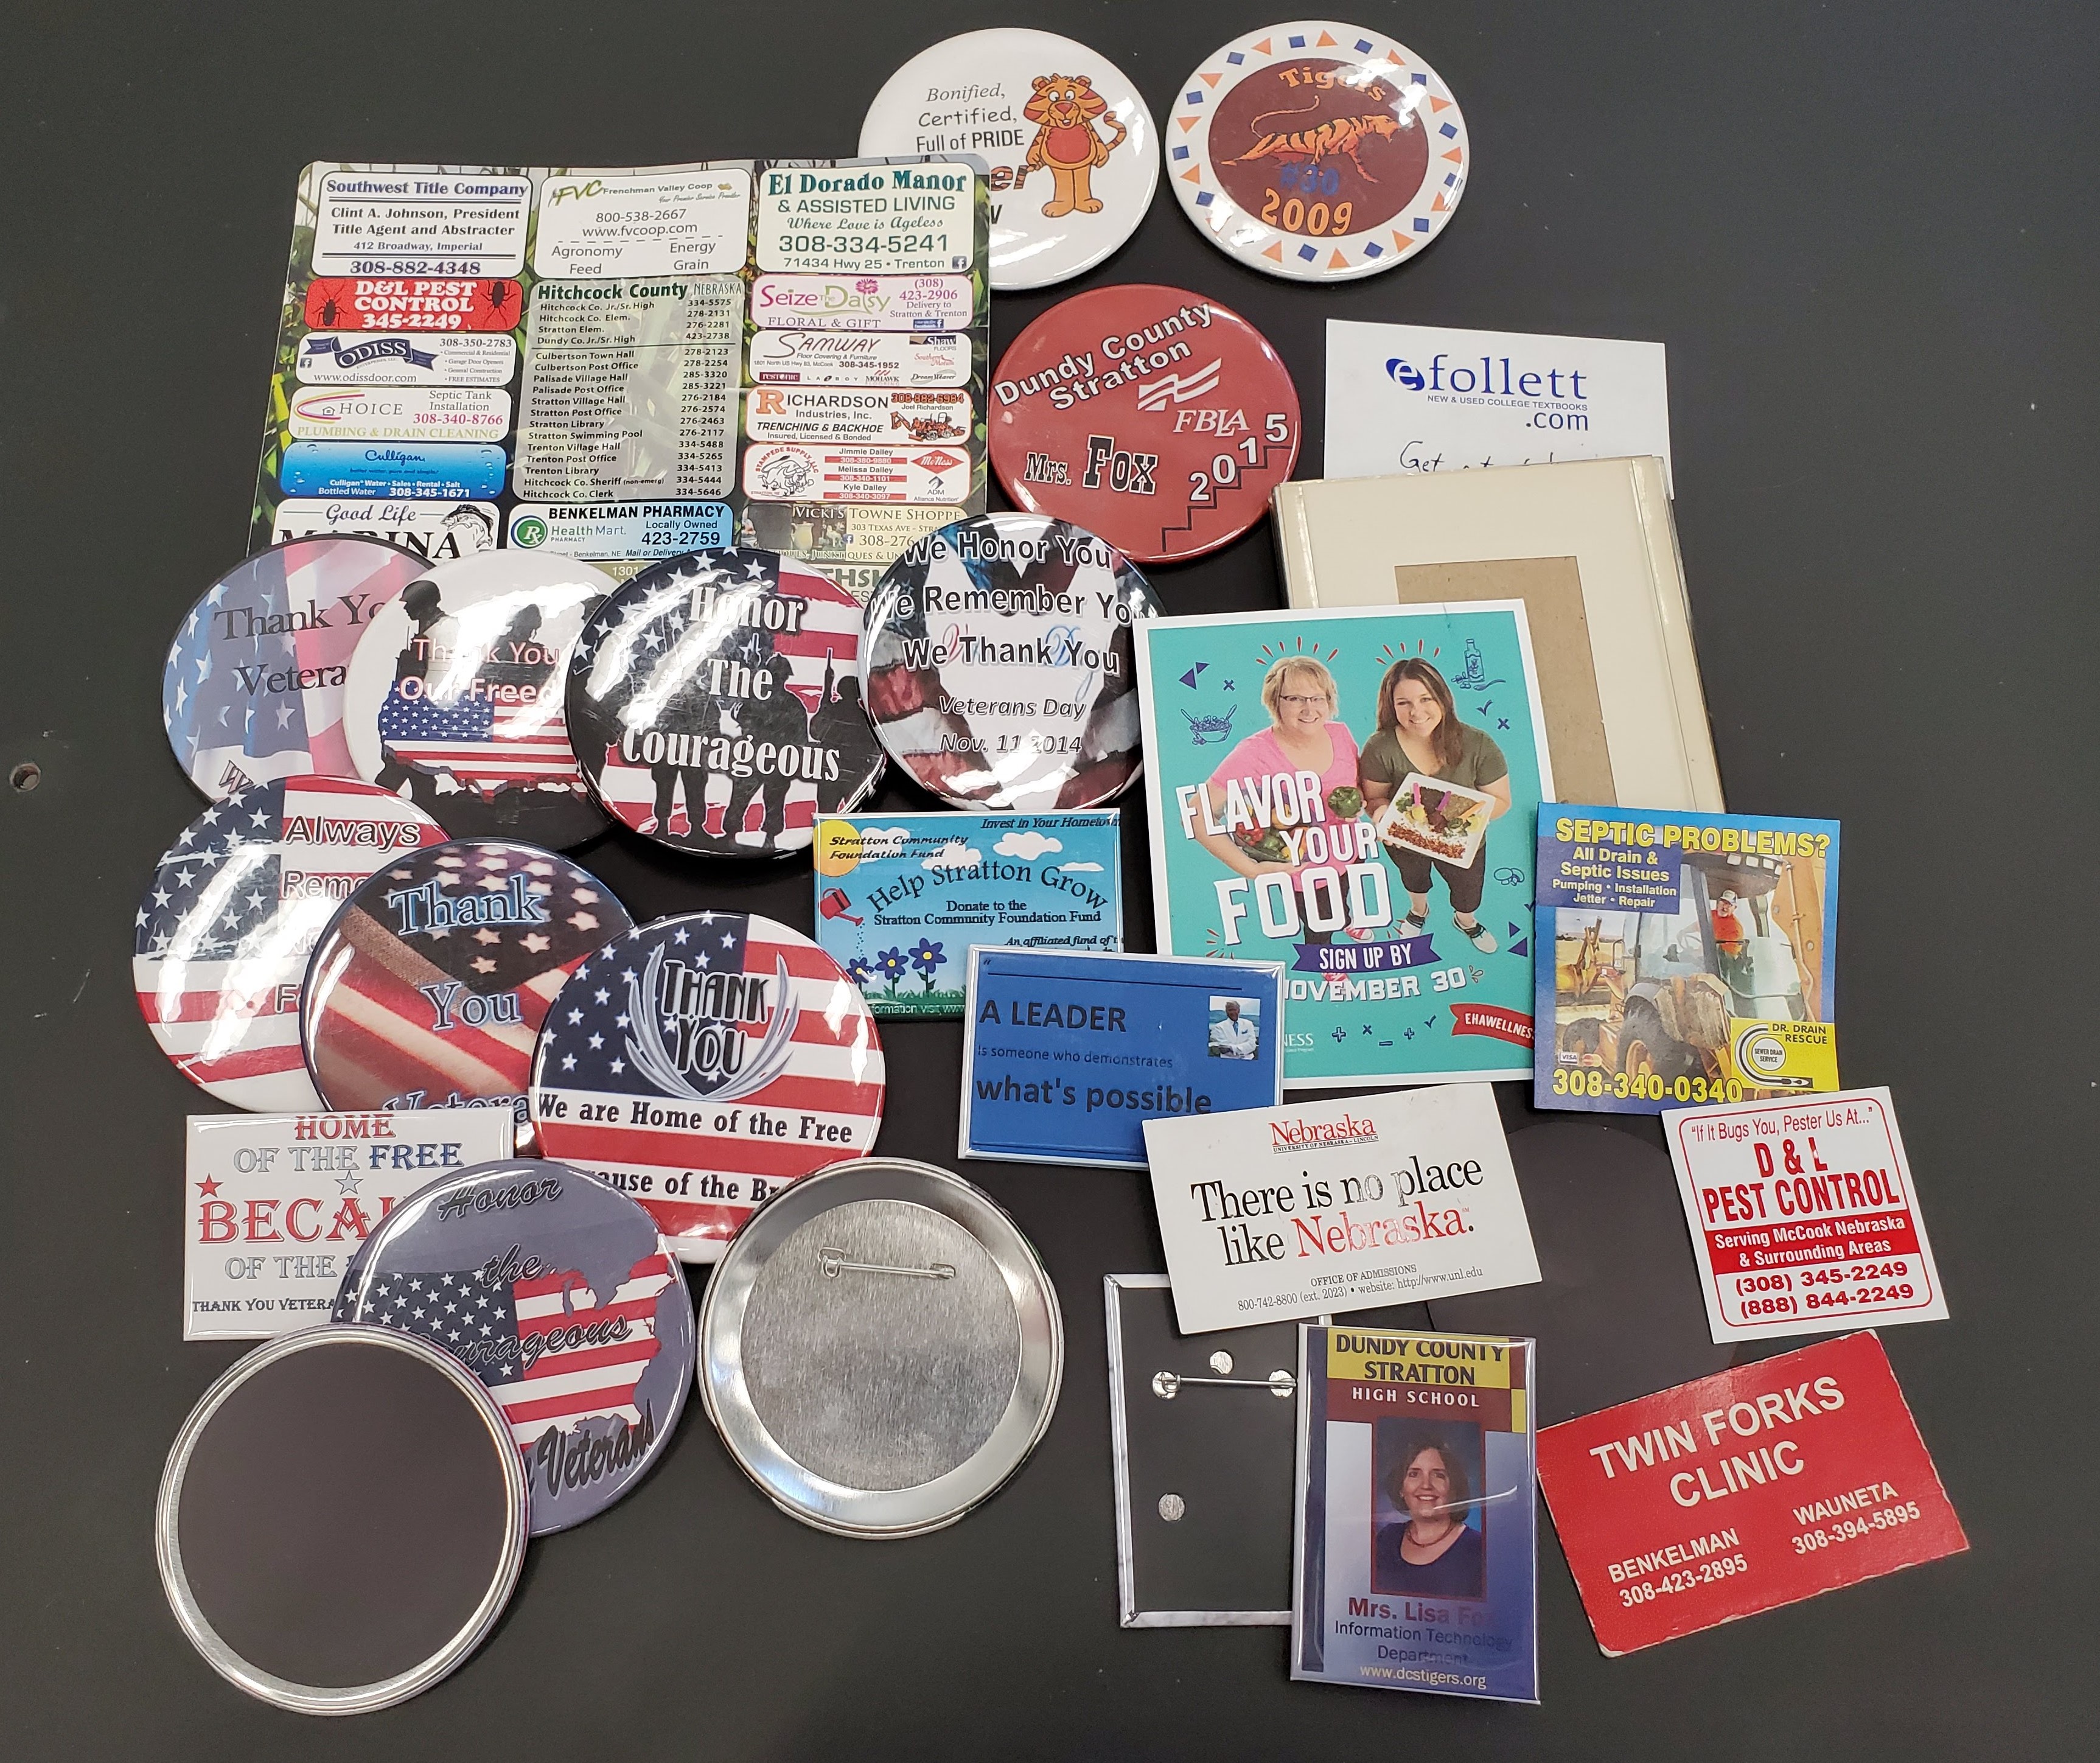
This image includes several examples of magnets designed by former students and/or collected from "junk" mail or at conference booths over a period of time.
Ask students to complete an analysis of the design of the magnet they were given: (See attached Quick Check List - there are two per page. You will want to print one for each student or have students work in pairs to complete the analysis.)
Ask one or two groups to share their analysis of their magnet. Then have a discussion about media design needed for magnet production. Ask:
Where would you see this magnet/button
displayed?
Is this a good design layout? Does it have
good use of space and line?
Is it a good color scheme for the product?
Are the font choices easy to read?
Is this a magnet you would display in your
home or office?
If you were the designer, what would you
do differently?
Benefits/Explanation/Real-World Connection:
By having students complete this magnet project they will be developing advanced skills to plan, design, and create design projects using elements of texts, graphics, and digital imaging by a set project deadline. These skills will prepare students for entry-level positions in the digital design field. Students will demonstrate proper use of copyright throughout the project. If included in the project, students will have the opportunity to practice their photography skills.
Students will see their work in the real-world because what they have created could be produced for distribution to an audience such as to Veterans at the Veterans Day Program or to club members during CTSO week.
Activities (i.e. instructions, warm-up, lesson, cool-down):
1. After completing the Pre-Activity, introduce the project. Tell students they will be designing their own magnet. Show an example of what they might design. In this case a magnet with an motivational quote or saying that they could place in a location for daily inspiration. See example:
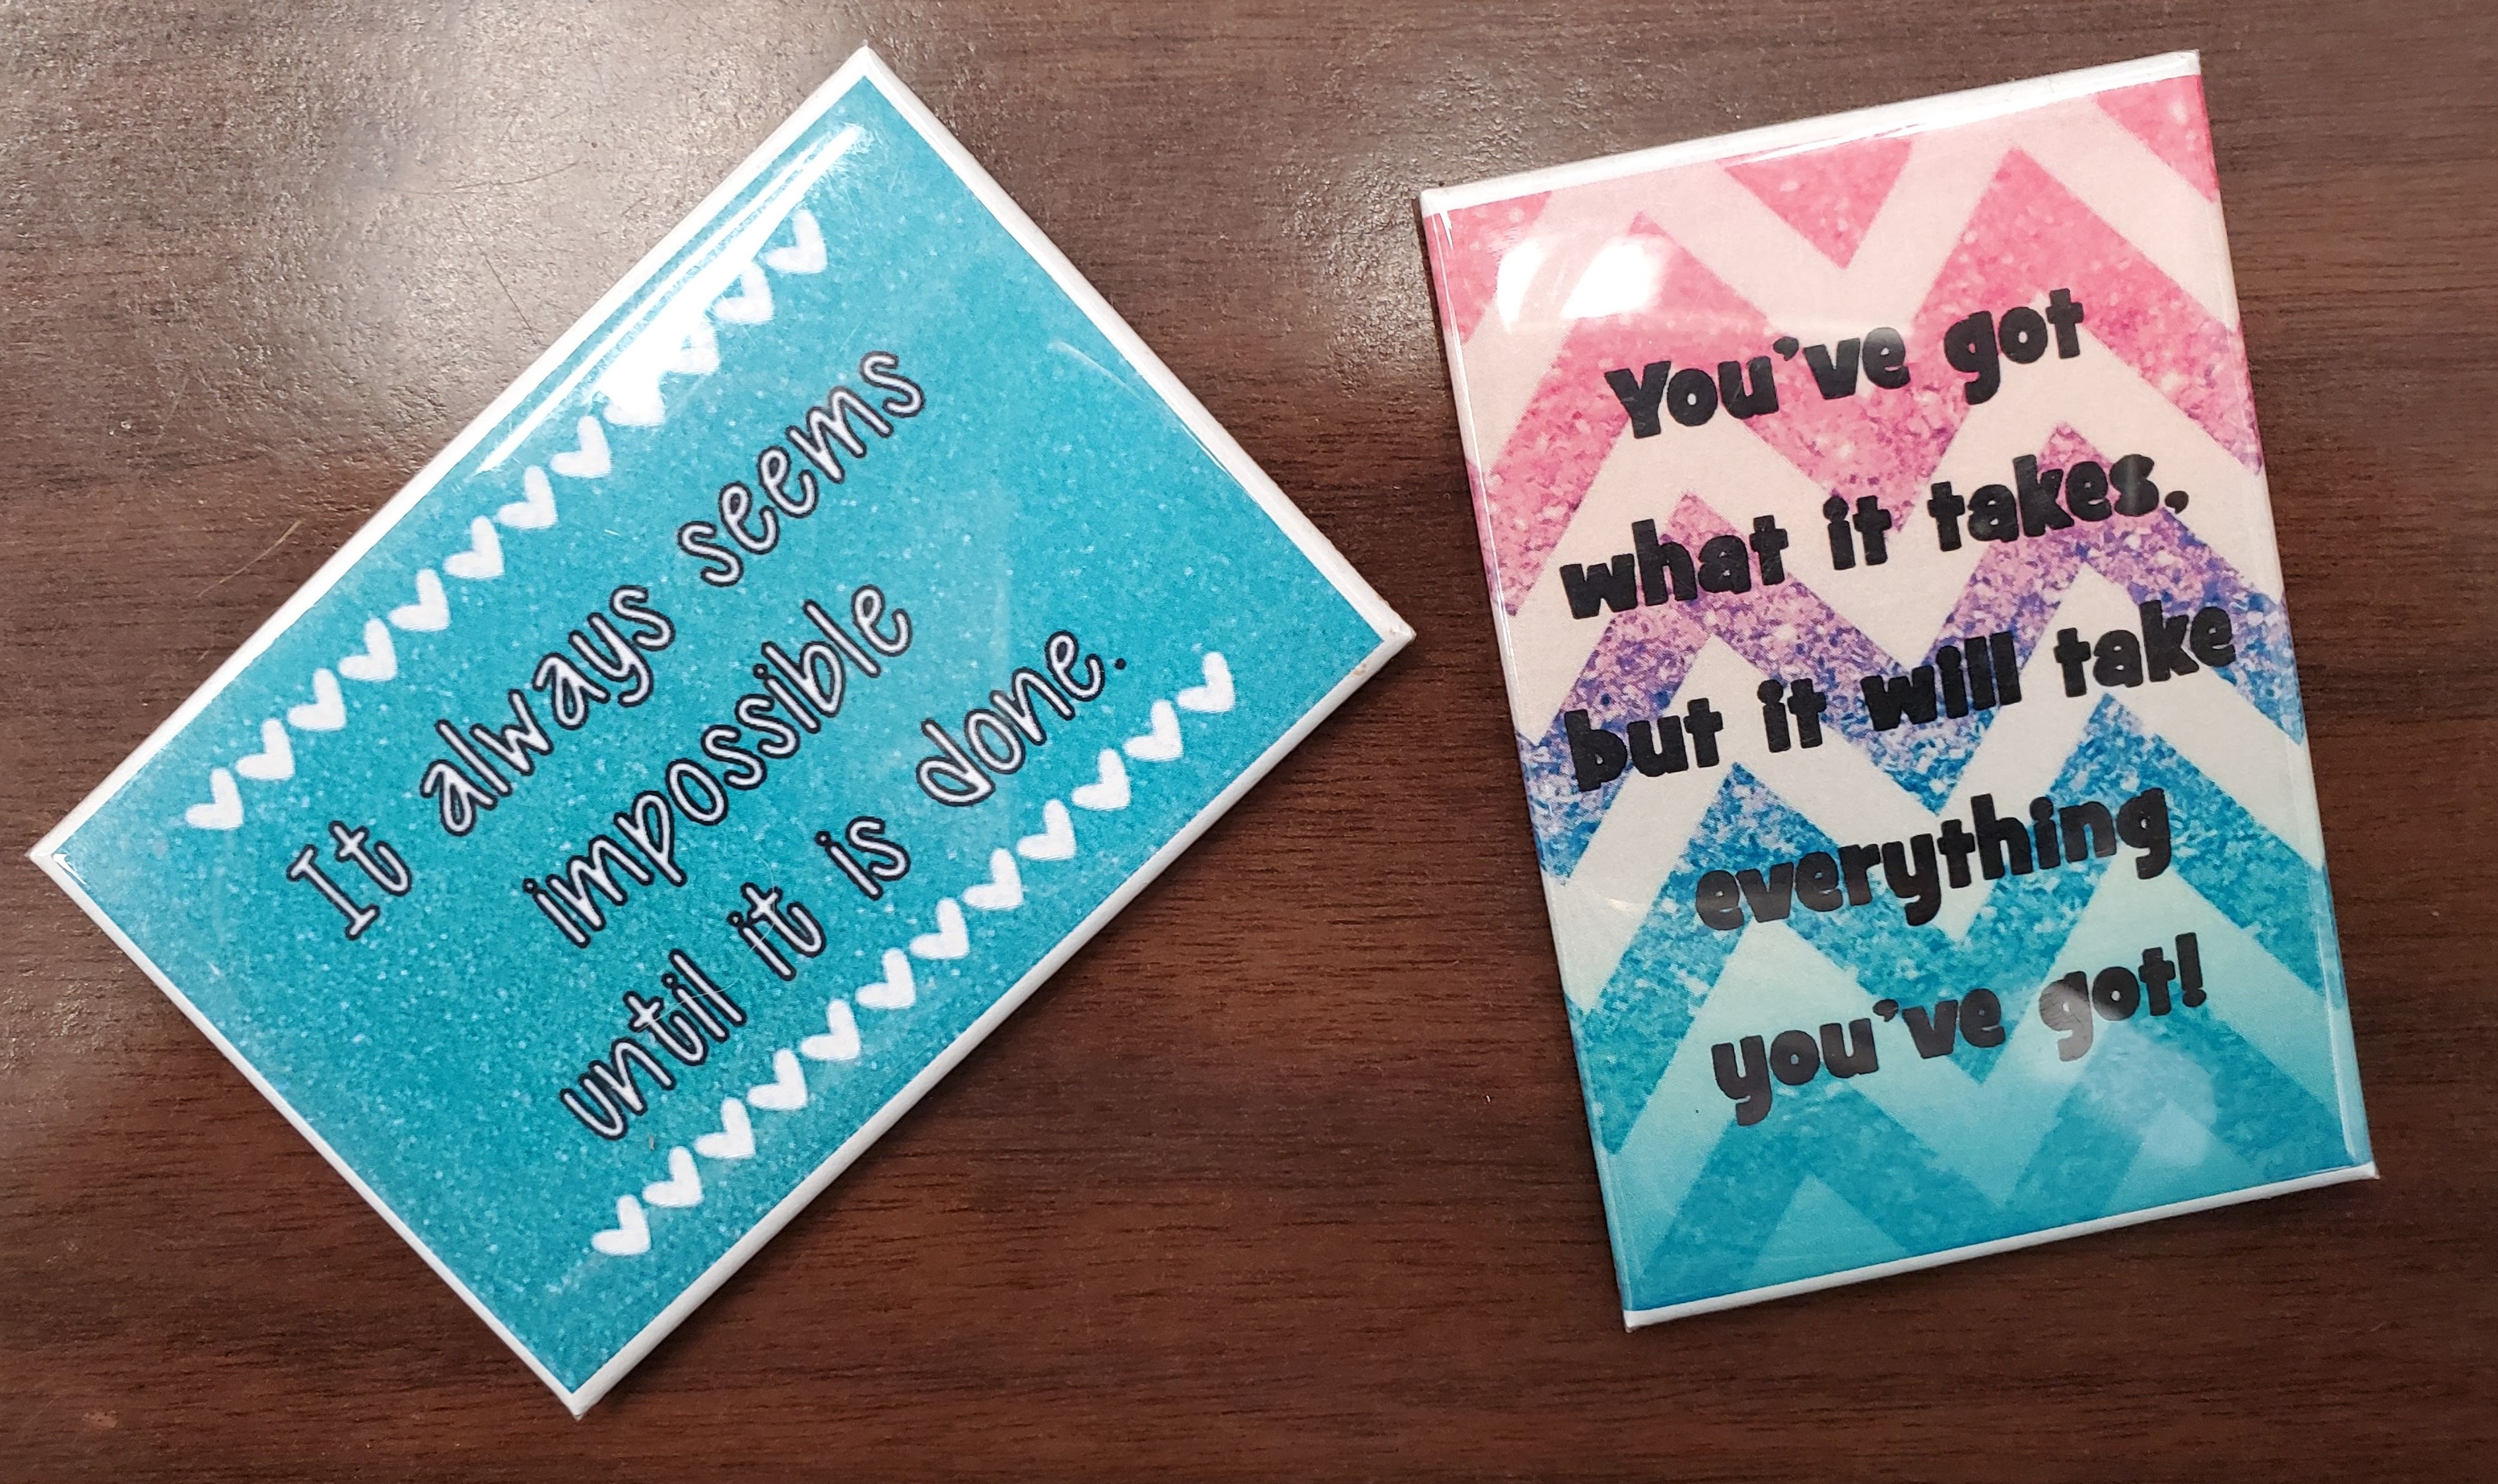
Magnet Examples: Two motivational/inspirational magnet designs in a rectangular shape--one in landscape orientation; the other in portrait orientation.

Magnet Example using photo editing on own photo.
2. Students can work alone or in assigned teams to create a production schedule that includes deadlines for: magnet size; magnet message; magnet design. The production plan should be submitted to the teacher for approval.
3. Students will be given time to research an inspirational/motivational quote that is copyright free. Take a moment to review copyright rules (See the link in the Resources section below to a blog entry I found from Emily McDowell titled: "Using Famous Quotes – When is it ok?" This could be used for reference or given as a reading assignment.) Remind students that to be able to use another person's saying or quote they need to determine if it is in the public domain or they need to get permission to use it. Students could also make up their own saying to put on the magnet.
4. After deciding on one or two quotes, each student will then sketch out one or two mockup designs for each quote and share with their group or the entire class asking for design input. Students should search for the proper dimensions to be used for the style of magnet they intend to design. Sample templates for button makers can be found at: ButtonBiz.com Layout Templates https://buttonbiz.com/how-to-make-a-button/layout-templates/
5. Optional step: If students have a plan to use their own picture they will need to discuss the best time of day to capture the desired scene with appropriate lighting. Special permission may need to be given for students to have extra time to be able to complete their photo shoot on a weekend.
5. Next students will begin the design building process on the computer using the software of their choice. Possible software to use could be Adobe Photoshop, Adobe Illustrator, Microsoft Publisher, or online design such as Canva.
6. Students need to save the file with an appropriate project name in the location indicated by the teacher. The file could be submitted on an LMS as a rough draft for teacher input before a final design is printed.
7. Students will present a printed design to the teacher for approval. Any refining work should be completed and a new print created.
8. With a finished design, the print can be used to produce a magnet in whatever methods are available in the classroom. If a magnet/button maker is available, the teacher will need to demonstrate how to use the machine with the available supplies. If sticker project paper is being used, demonstrate how to insert the paper in the printer. If plain paper is being used, demonstrate how to laminate the paper to protect the print and attach a magnet.
Closure:
At the end of the project, discuss the importance of time management and the consequences of not meeting a deadline. Ask students what challenges or roadblocks there were to creating the design for their magnet – ex: quality of image, placement of text, making the design work with the magnet size
Assessment :
A completed magnet design has been produced or submitted to contest judging. Students and/or teachers could use the attached design analysis checklist as part of the assessment. Students could complete a self-analysis or have another student complete a peer analysis of the magnet design.
Supplemental Information:
Modifications:
- Magnet
or button design sizes are limited to what the machine can make, but you do not need
a button maker machine to complete this project.
Other magnet printing options:
1) Use Magnet Sheets for the printer and cut out the magnet
2) Print on regular paper. Cut to the size of the magnet design. Laminate the design and glue on a magnet (recycle freebie magnets that are passed out at conferences)
3) Print on sticker project paper; place on a magnet cut to the same dimensions
- Create a design contest and have students design one or more magnets according to the contest specifications and submit to a panel of judges for production consideration. Example: When it is time for the Veterans Day Program at our school, students will design and submit two designs each to a committee of teachers and/or club officers who select the winning magnet for mass production to hand out to veterans who attend the program. CTSO club members then complete the mass production during home room, before or after school.
- The design could be as simple as using WordArt on a colored background in the proper dimensions to make a magnet or to be more challenging for advanced students add a photography criteria where the production includes an image taken and edited by the student or team of students.
Safety Precautions:
Know how to operate the button/magnet maker. Demonstrate and provide guided practice when creating the magnet.
Comments (adaptations for various grades/ages, teaching styles, etc.)
Resources:
- Sample Magnets - See step #1 in the Activities section.
- Freebies Sample image - See the Pre-Activity section
- Cool Text Graphics Generator - Cooltext.com
- 1001 Free Fonts - https://www.1001freefonts.com/
- Using Famous Quotes – When is it ok? - https://emilymcdowell.com/blogs/all/105986566-using-famous-quotes-on-products-when-is-it-ok
- ButtonBiz.com Layout Templates https://buttonbiz.com/how-to-make-a-button/layout-templates/