Introduction to Raspberry Pi through Making
Objectives
Students will be able to:
- Describe the maker design cycle of Think, Make, Improve
- Engage in the maker design cycle
Outline of Lesson
- Introductory building activity
- Formal introduction of Think, Make, Improve
- Improve building activity
Teaching/Learning Strategies
- Challenge: Make the tallest freestanding structure you can using available materials. (45 minutes)
- The purpose of this activity is both for students to get introduced to one another and for them to tap into the maker ethos. Encourage students who come up with crazy ideas, by only giving the instruction of building the tallest freestanding structure. Do not elaborate on what is “allowed” beyond this (except for safety concerns).
- Debrief the activity by asking students to journal answers to the following questions (15 minutes):
- What was an idea that you had that worked
- What was an idea you had that didn’t work and how did you fix it?
- What is something you learned about your partner during the activity?
- Have students then share the answers with a partner and then share out with the group (Think-Pair-Share). If students are not familiar with this type of interaction, it is helpful to explain that they are going to be engaging in this kind of debrief throughout the course.
- Formally introduce the Think, Make, Improve mindset. Have posters with suggestions for each stage ready to be posted in the room (found on next page) (10 minutes).
- It is very important for students to see this as a spiral that they will cycle through repeatedly while designing.
- Ask students how this links to what they just did. Help guide them to items from this list that you saw them using when building their structures
- These posters should stay up in the classroom throughout the course.
- Tell students you are going to complete the third portion of the design cycle and improve on what they built. It is also essential to point out to students that this is not a competition and encourage that they work collaboratively, by helping out other groups. Positively comment on situations where students are working together (30-45 minutes).
- If you have not done so already, now is a good time to go through formatting the SD cards for the Raspberry Pi
- I would recommend formatting the cards with NOOBS beforehand, and having students start the install in class right before breaking for lunch.
- IF you plan on using an HDMI to VGA converter, you will need to get the install’s started before hand and change some of the settings in NOOBS to ensure that the RPi picks up the VGA display.
Resources
The Think-Make-Improve posters should have the following[1]
Think
· Brainstorm
· Talk it out
· Predict
· Gater materials
· Identify expertise
· Decide who to work with (or to work alone)
· Set goals
· Sketching
· Outline
· Flowchart
· Research
· Plan
Make
· Play
· Build
· Tinker
· Create
· Program
· Experiment
· Construct
· Deconstruct
· Test strategies/materials
· Observe others
· Borrow Code
· Share Code
· Document your process
· Look for vulnerabilities in your invention
· Ask questions
· Repair your creation
Improve
· Conduct Research
· Talk it out
· Discuss with peers
· Look at the problem from a different perspective
· Use different materials
· Change one variable at a time
· Think about which ways you’ve solved similar problems in the past
· Play with it
· Find a similar project you might deconstruct
· Ask an expert
· Be cool
· Get some fresh air
· Sleep on it
Or if you think you’re done… Ask how can I make my project:
· Faster
· Slower
· Better
· More accurate
· Prettier
· Greener
· Cooler
· Stronger
· Smater
· More efficient
· Less expensive
· More reliable
· Lighter
· More elegant
· Easier to use
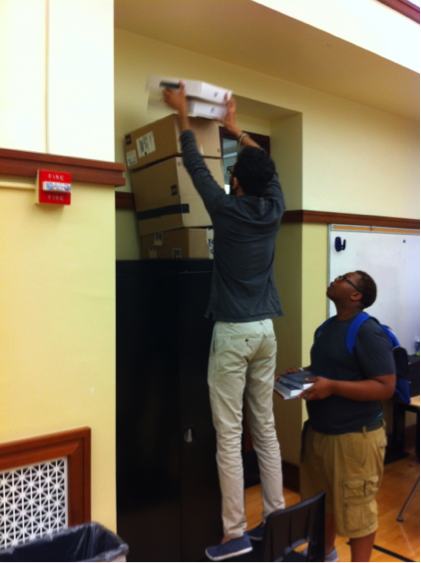
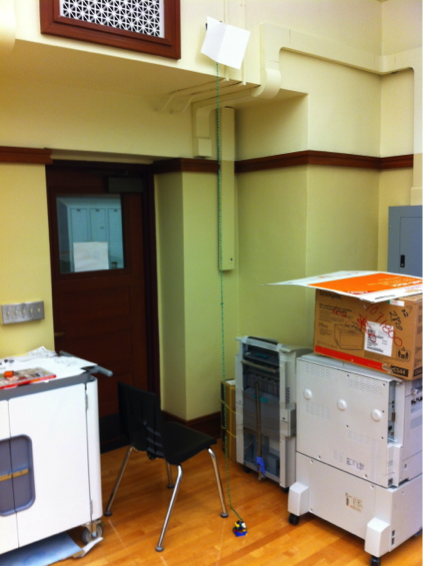
Examples of Student Work