Distributed Database Systems through Database Clustering
In order to fully appreciate the benefits of the database cluster, this section will teach you on how a simple web application can connect randomly to the available MySQL servers but still getting the same set of data. This example will also show that the client applications can still continue to get data as long as there is at least one (1) running server while the other servers are down due to technical problems or maintenance task.
Make sure that the MySQL NDB cluster is running. This means that the cluster management, data and SQL nodes are running as can be seen from the cluster management client.

.
1. From the SQL nodes (VM2 and VM3), allow the “root” MySQL user to login remotely.
mysql > grant all privileges on *.* to ‘root’@’%’ identified by ‘1’;
mysql> flush privileges;
2. Open Visual Studio.NET and create an empty ASP.NET web site. Save it as Clustering.
3. Add a new web form.
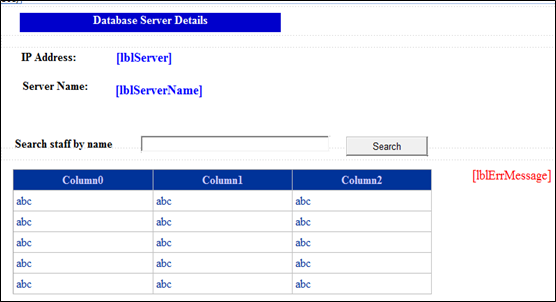
4. Design the web form as shown below:
.
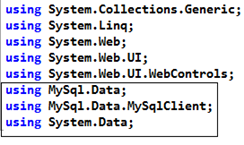
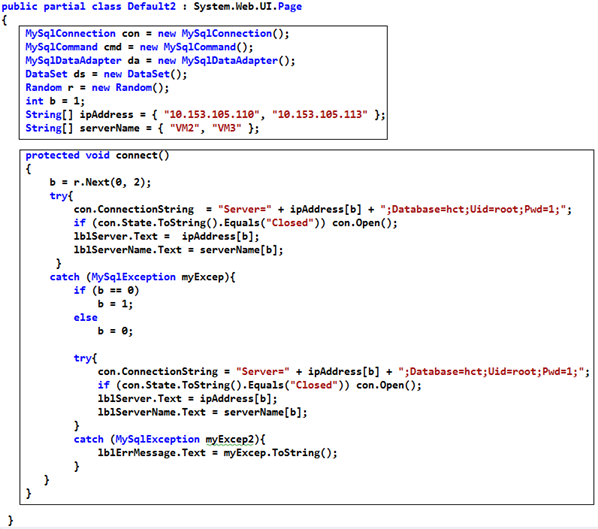
5. Switch to the code view and type the highlighted codes:
.
.
Note: The above codes were written to demonstrate that any of the MySQL database servers in the Cluster can be connected to by our application and yet we get the same result. It also demonstrates a sort of load balancing through randomized connection to a database server.
For a more optimized load balancing of the servers
in the cluster, there is a MySQL Router
that can be downloaded and used for free.
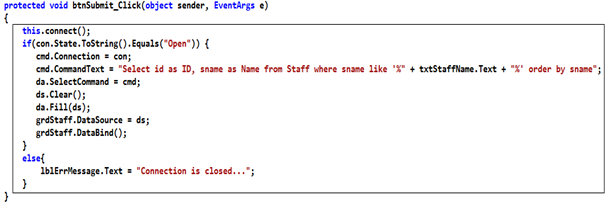
6. Double-click the Submit button and type the following codes:
.
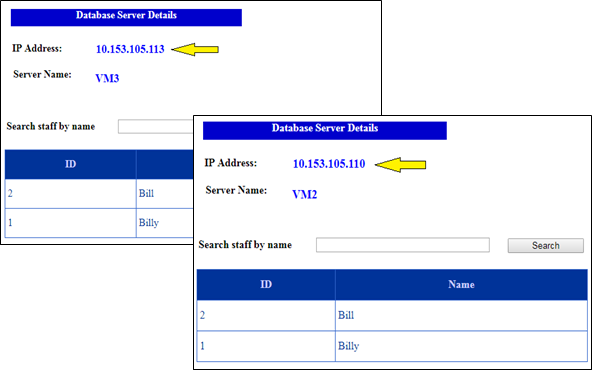
7. Run your application
8. Click the Submit button repeatedly. Notice that the Database Server Details change randomly and still you get the same set of data.
.